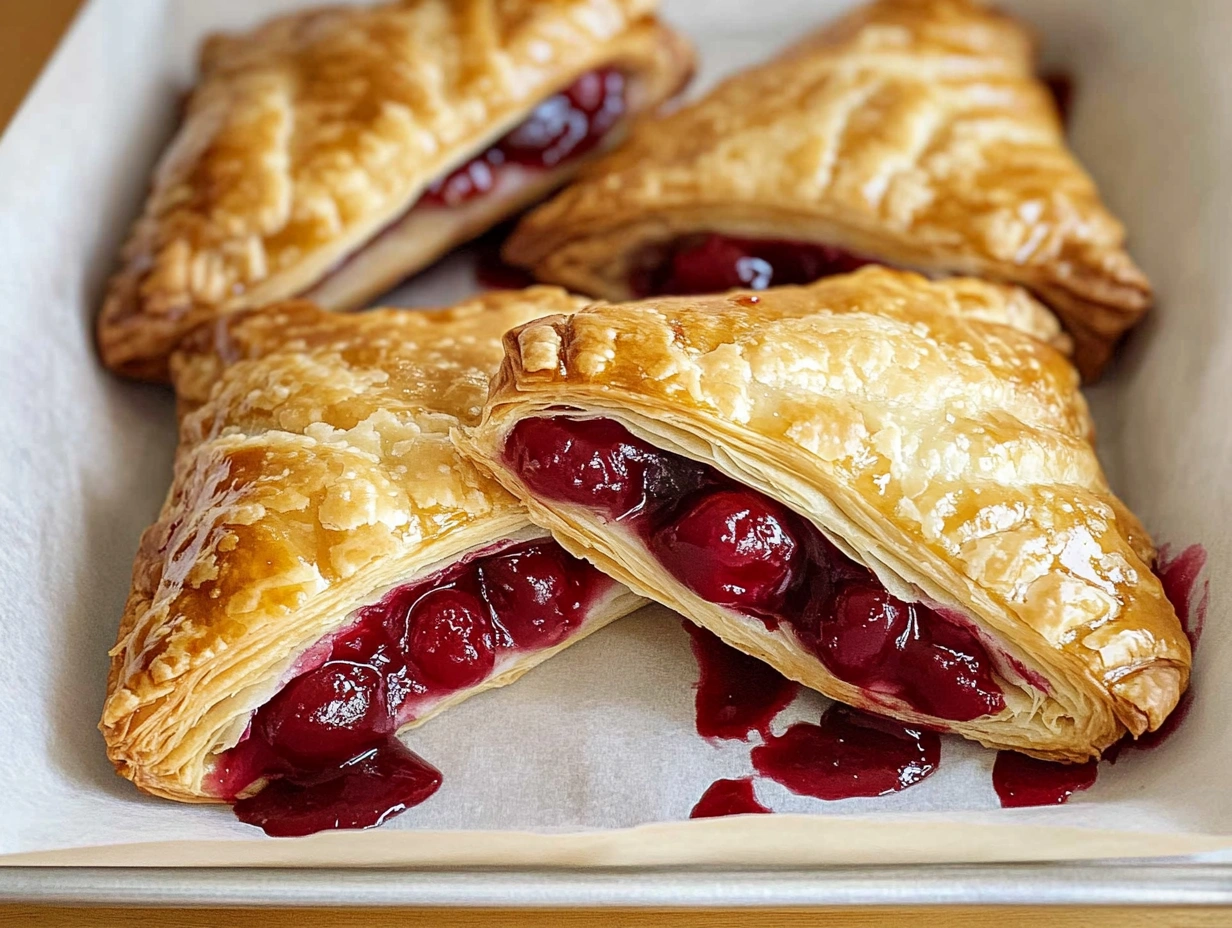
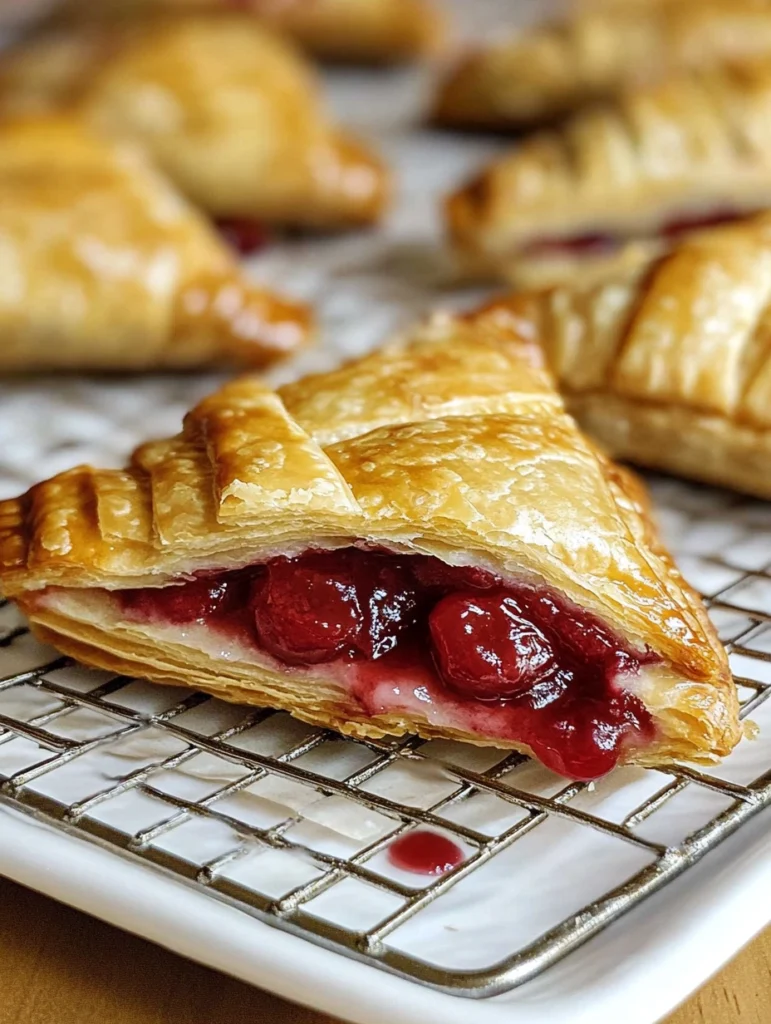
There’s magic in pulling out fresh cherry turnovers from the oven. The golden, flaky pastry crackles with each bite. It reveals a sweet-tart cherry filling that takes you back to grandma’s kitchen. These turnovers are more than a dessert; they’re a warm hug of comfort and joy.
Making cherry turnovers at home might seem hard, but it’s actually easy. With a few simple ingredients and basic baking skills, you can make bakery-quality turnovers. This recipe will help you make perfect cherry turnovers every time, whether you’re an experienced baker or just starting out.
Key Takeaways
- Cherry turnovers are surprisingly simple to make at home
- Total preparation time is just 30 minutes
- Each turnover contains approximately 6 cherries
- Perfect for breakfast or dessert
- Can be stored at room temperature for up to 2 days
Table of Contents
Essential Ingredients for Perfect Cherry Turnovers
To make delicious cherry danish turnovers, you need the right ingredients. Each part works together to create a tasty pastry. Knowing what you need will help you make a treat that everyone will love.
Puff Pastry Selection
Your cherry danish starts with good puff pastry. You can choose:
- Store-bought frozen puff pastry sheets
- Homemade puff pastry for adventurous bakers
If you buy pastry, thaw it at room temperature for 30-40 minutes. You can also microwave it, but be careful not to overheat.
Cherry Filling Components
The cherry filling is the heart of your danish. You can use fresh or frozen cherries for a tasty filling.
| Ingredient | Quantity |
|---|---|
| Pitted Cherries | 2 cups (280 grams) |
| Granulated Sugar | 1/4 cup (50 grams) |
| Lemon Juice | 3 tablespoons |
| Cornstarch | 1 1/2 tablespoons |
Glaze and Finishing Touches
A cherry danish needs a sweet glaze. Make a simple glaze with powdered sugar, milk, and vanilla extract.
- Egg Wash: 1 egg + 2 tablespoons milk
- Glaze: 1 cup powdered sugar, 4 tablespoons milk, 1/2 teaspoon extract
Every ingredient is important for a great cherry danish turnover. It will make your taste buds happy.
Step-by-Step Cherry Turnovers Recipe
Making cherry turnovers is simpler than you think! This guide will help you make perfect turnovers. They’ll impress your family and friends.
Preparing the Cherry Filling
First, make a tasty cherry filling. It’s what makes your turnovers special. Here’s what you need:
- 1 cup cherry pie filling
- 2 tablespoons brown sugar
- ½ tablespoon cornstarch
- ⅛ teaspoon almond extract (optional)
Mix these ingredients in a bowl. Make sure the cornstarch is well mixed. The brown sugar adds a rich flavor to your filling.
Assembling the Turnovers
Assembling the turnovers needs care. Follow these steps for beautiful pastries:
- Preheat your oven to 375°F
- Roll out the puff pastry and cut into 4-inch squares
- Place 1 tablespoon of cherry filling in the center of each square
- Fold the pastry diagonally to create a triangle
- Crimp the edges with a fork to seal

Baking Instructions
Baking the turnovers right is key for that flaky texture. Here’s how to do it:
| Baking Detail | Specification |
|---|---|
| Oven Temperature | 375°F |
| Baking Time | 20-25 minutes |
| Egg Wash | 1 large egg, beaten |
Brush the turnovers with egg wash for a golden color. Watch them to avoid over-browning. Let them cool a bit before glazing with powdered sugar, milk, and vanilla.
Tips for Making Flaky Cherry Turnovers
Making the perfect cherry Danish is all about mastering a few key steps. These steps will help you create turnovers that are both delicious and look amazing. Achieving bakery-quality results is within your reach.
Temperature control is crucial when working with puff pastry. Keep your pastry cold until you’re ready to use it. Here are some important tips to follow:
- Chill assembled turnovers in the freezer for 15-20 minutes before baking
- Use only 2-3 tablespoons of cherry filling per turnover
- Seal edges completely to prevent filling leakage
- Create a tight seal by pressing edges with a fork
When making your cherry danish, don’t overlook the egg wash. A light egg wash (1 egg whisked with 1 tablespoon of water) will make your turnovers shine. Sprinkle some turbinado sugar on top for extra crunch and beauty.
| Technique | Benefit |
|---|---|
| Cold Pastry | Creates flakier layers |
| Freezer Chill | Prevents spreading during baking |
| Proper Sealing | Prevents filling from leaking |
Remember, practice makes perfect! With these tips, you’ll be making professional-looking cherry turnovers. They’ll impress your family and friends.
Storage and Make-Ahead Options
Keeping your homemade cherry cheese danish fresh is key. You can enjoy them immediately or store them for later. Here are some tips to keep them tasting great.
Room Temperature Storage
You can keep your Danish at room temperature for a short period. Just remember:
- Store in an airtight container
- Keep at room temperature for 1-2 days
- Avoid direct sunlight or heat sources
Refrigeration Techniques
For longer storage, the fridge is best:
| Storage Method | Duration | Recommended Approach |
|---|---|---|
| Refrigerator Storage | Up to 1 week | Use sealed container |
| Recommended Temperature | 40°F (4°C) | Maintain consistent cooling |
Freezing Instructions
Freezing is great for long-term storage.
- Allow pastries to cool completely
- Wrap individually in plastic wrap
- Place in freezer-safe container
- Freeze for up to 1 month
Reheating Methods
Reheat your danish to enjoy it again:
- Oven Method: Preheat to 375°F, heat for 5-10 minutes
- Thawing Time: Remove from freezer 20 minutes before reheating
- Avoid microwave to maintain flaky texture

Pro tip: Let your Danish come to room temperature before serving. This way, you’ll get the best flavors and texture.
Variations and Serving Suggestions
Turn your cherry turnovers into a culinary adventure with these creative variations. Whether you’re craving a classic cherry Danish or want to try unique flavors, these ideas will take your baking to the next level.
Exciting Flavor Variations
- Cream Cheese Cherry Danish: Add 4 oz of softened cream cheese to your cherry turnover filling for a rich, tangy twist
- Mixed Berry Cherry Turnovers: Combine cherry pie filling with blueberries or raspberries
- Nutty Crunch Option: Sprinkle sliced almonds or chopped walnuts on top before baking
- Savory Breakfast Version: Replace sweet filling with scrambled eggs and ham
Serving and Presentation Ideas
Serve your cherry turnovers in ways that’ll impress family and friends. Warm turnovers pair perfectly with vanilla ice cream for a decadent dessert. As a breakfast treat, dust them with powdered sugar and enjoy at room temperature.
| Serving Suggestion | Recommended Pairing |
|---|---|
| Dessert | Vanilla ice cream, whipped cream |
| Breakfast | Coffee, cappuccino |
| Brunch | Fresh fruit salad |
Pro tip: Your cherry turnovers can be prepared ahead of time and stored in an airtight container for up to 3 days. This makes them a convenient and delicious option for quick snacks or unexpected guests.
Conclusion
Making homemade cherry turnovers is a fun journey in the kitchen. It turns simple ingredients into tasty pastries. With just 30 minutes of prep and cooking, you can make a treat that wows everyone. Each turnover is filled with sweet cherry flavor in flaky, golden pastry.
These turnovers are great for any time of day. They’re perfect for breakfast, a snack, or a fancy dessert. At about $1.00 per serving, they’re a tasty and budget-friendly choice.
Your baking skills will get a boost from making these turnovers. You’ll learn how to pick the right puff pastry and make a rich cherry filling. Remember, practice makes perfect. Feel free to try new things and make the recipe your own.
Baking these turnovers is more than just making a tasty treat. It’s about making memories in your kitchen. Get your ingredients ready, preheat your oven, and enjoy the joy of baking something special. Your homemade cherry turnovers are ready to be enjoyed!
FAQ
Can I substitute fresh cherries for canned pie filling?
Absolutely! Fresh cherries make a filling that’s vibrant and natural. Just pit the cherries and cook them with sugar and cornstarch. This creates a thick, delicious sauce for your turnovers.
How do I prevent my cherry turnovers from getting soggy?
To keep turnovers crisp, follow these tips: – Chill the assembled turnovers before baking – Don’t overfill the pastry – Use a hot oven (around 400°F) – Place turnovers on a parchment-lined baking sheet – Avoid letting filled turnovers sit too long before baking
Can I make cherry turnovers ahead of time?
Yes! You can prepare cherry turnovers in advance. You can: – Assemble and freeze unbaked turnovers for up to 3 months – Refrigerate assembled turnovers for 1-2 days before baking – Bake and store fully prepared turnovers at room temperature for 1-2 days
What’s the best way to reheat cherry turnovers?
For the best results, reheat in an oven or toaster oven at 350°F for about 5-7 minutes. This restores the crispy texture and warms the filling. Avoid using a microwave, which can make the pastry soggy.
Can I make a cream cheese version of cherry turnovers?
Definitely! Create a cherry cheese danish variation by adding a layer of sweetened cream cheese mixture before adding the cherry filling. Mix cream cheese with a bit of sugar and vanilla for a delicious twist.
How long do cherry turnovers stay fresh?
When stored properly: – Room temperature: 1-2 days – Refrigerator: 3-4 days – Freezer (unbaked): Up to 3 months – Freezer (baked): Up to 1 month
Can I use other fruits in this recipe?
Absolutely! While cherries are delicious, you can easily substitute with: – Blueberries – Raspberries – Apple – Peach – Mixed berry fillings
Do I need any special equipment to make cherry turnovers?
No special equipment is required! You’ll just need: – Baking sheet – Parchment paper – Rolling pin – Sharp knife – Pastry brush (for egg wash)